Transmission Rebuild
This page will run through how to
rebuild a three or four speed small frame transmission from bare cases.
- A hammer
- A socket or other type of drift with
a hole in the center.
- Circlip pliers
The images below show the cases without
bearings so the first step it to drop the bearings back in. I removed
these to give them a good cleaning with gasoline and compressed air and
they were good enough to reuse.
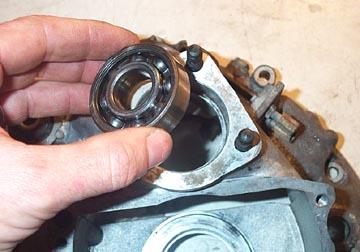
Flip the clutch side of the casing over
to show the rear wheel bearing hole. This bearing is a tight fit in the
casing and must be hammered or pressed in to place. Make sure the
casing is well supported below, preferably on wood blocks so there will
be no damage to the gasket faces.You can heat the casing up to make it
easier but usuaully it isn't necessary. Place the bearing squarely in
the hole...
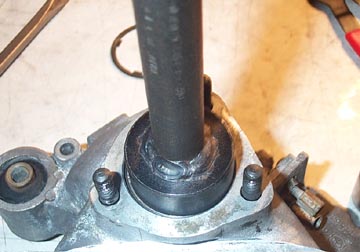
...and use either a socket or some other
solid round piece as a punch and use a hammer to hammer the bearing in
to position. You'll hear a different sound when it is all the way in,
or you can flip the casing over to see if it is against the cast lip on
the inside.
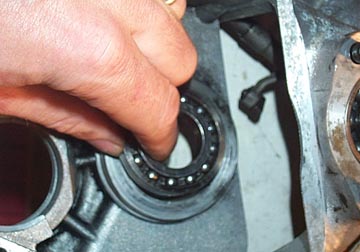
The main clutch bearing is much the
same. It goes in from the clutch side and is retained with a circclip.
If possible, find a socket or something similar that rests on the
outside race of the bearing - that way you are not hammering on the
interior race.
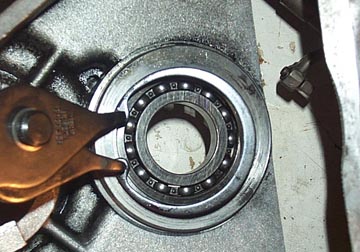
Once the bearing is all the way against
the lip, use circpli pliers to place the retaining circlip.
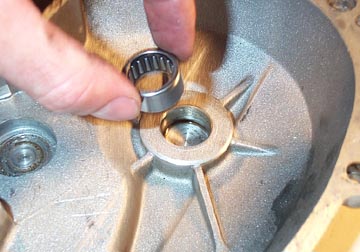
The flyhweel side of the casing also has
two small bearings. These are also hammered in to place with a flat
block of metal so that the outside face is flush with the casing.
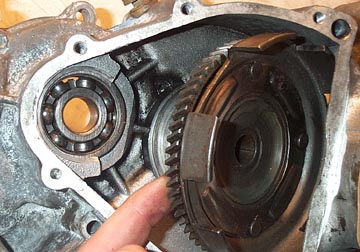
In the shot above I have also installed
the main crank bearing in the clutch side of the casing. This is very
similar to the clutch bearing and is retained by a circlip on the crank
side face. The clutch basket is a tight fit but the center of the
clutch must go through the clutch bearing. It does fit without force so
take it easy as it is easy to jam it.
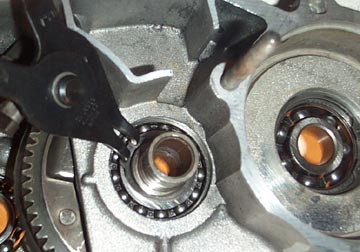
Flip the casing over and make sure the
clutch basket is pushed all the way through the bearing. If it is there
will be a small groove visible just inside past the bearing. Fiut the
retaining circlip here to hold the basket in place.
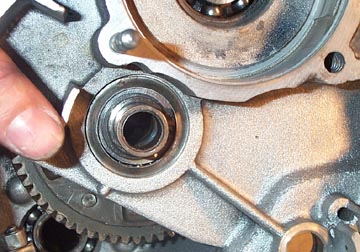
This is followed by a dished washer. The
washer goes on with the higher center part facing away from the clutch.
This is then followed by the kickstart spring which is also larger at
one end than the other. The large end faces the clutch.
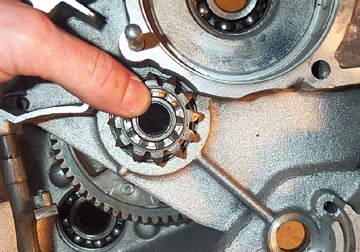
Finally this is followed by the small
kickstart gear. The gear is flat on one side and has teeth on the
other. The teeth need to face outwards, away from the clutch, so that
they can engage with the transmission. The gear may try to spring off
the shaft in the next section but it can be put in place after the
kickstart layshaft is in place if you prefer.
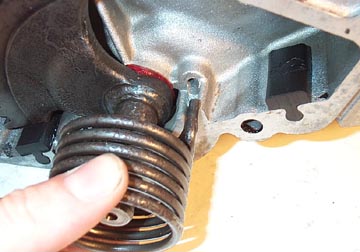
Now is a perfect time to replace the
kickstart rubber buffers which slot into the casing. Have a look
through the hole where the kickstart quadrant goes. There is a small
O-ring inside the hole which you can replace if your bike was leaking
oil around the kickstart before the rebuild. Place the large metal
spring on the kickstart shaft and make sure the hook end is slotted in
to the quadrant and the end with a straight "peg" on it is facing
towards the casing. Add a thin film of grease to the quadrant and slide
it through the casing.
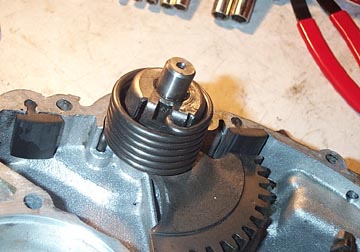
As you slide it in make sure the "peg"
goes in to the hole in the casing as shown above. If the kickstart is
correctly installed it should hold the small kickstart gear on the
clutch shaft in place - see below.
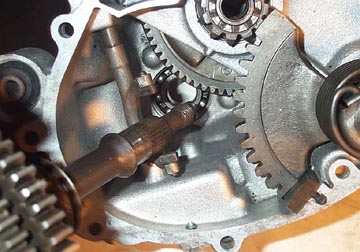
The next step means that the rear hub
backplate will have to be either temporarily or finally installed. The
reason is that it stops the rear wheel bearing in place much like the
circlip on the clutch bearing. I just bolted mine in place with no
gasket to hold the bearing in place before hammering the main axle and
gear cluster in to place. Take the gear cluster and place the axle
through the rear axle bearing. Before you push it in, make sure the
gear selector is pulled as far towards the rear wheel (i.e. first gear)
so that the grooved part of the selector is furthest away from the
gears.
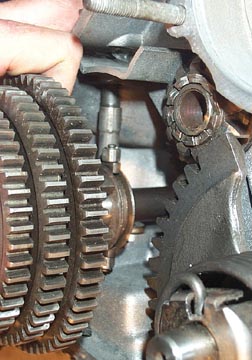
Carefully get the two small 'ears" of
the shifting mechanism to engage in to the groove in to the shift
cross. Be sure that both the top and bottom ears engage properly.
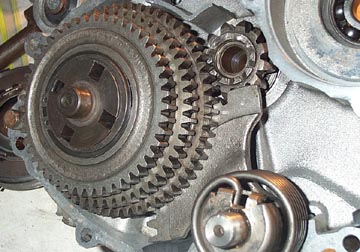
Use a piece hollow tube or a socket over
the end of the transmission shaft to hammer it in to the bearing. DO
NOT hammer directly on the end of the shaft as this is the area that
rotates in the bearing in the flywheel side of the casing. A socket or
hollow tube around this area works well because it rests only on an
area that is not in contact with any moving parts. As the axle pushes
through the bearing you may find the gear hit the kickstart quadrant.
This is beacuse the kickstart may have moved out of the casing but it
can easily be pushed back. You can look through an opening in the gears
near the kickstart to see when the lip on the axle is flush with the
inside of the bearing.
|