 |
 |
 |
 |
 |
 |
 |
||||||||||||
Vespa Small Frame Engine Work |
Removing a crankRemoving the crank is required to change the drive side oil seal or replace the drive side bearing. You will need to strip the motor down so that the piston and barrel are removed, and you are ready to split the casings. The clutch side cover should already be removed and the clutch pulled. It is usually easier to loosen the nut on the clutch side of the crank before splitting the casings. Here's what you will need:
Look at the motor from the lcutch side
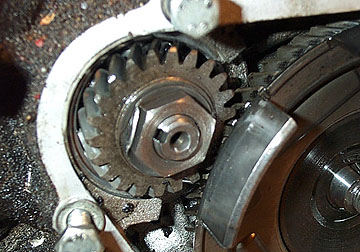
with the clutch cover removed. You'll see a small gear on the end of
the crank held in place by a nut. Use a screwdriver to bend down the
tab which will be bent up over one side of the nut.
To loosen the nut it is necessary to
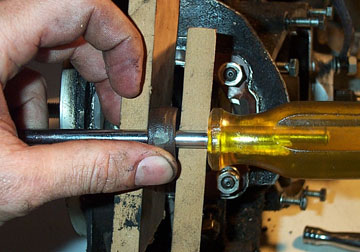
lock the engine. You can lock it by putting two equally sized blocks of
wood on either side of the con rod and then place a metal bar through
it...or you can use a pice of soft metal or a rag to jam the gear
teeth. Personally I think a con rod holding tool is the best method.
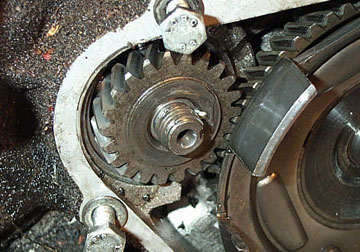
Remove the nut and the special washer
with the peg that fits in the slot on the crank shaft end. This can be
reused but it is better if it is replaced.
Once the cases have been split you can
gently push the crank out from the clutch drive side leaving the clutch
drive gear in place. Some cranks will push right out while others need
gentle tapping with a hammer and block. Never tap directly on the end
of the crank as you can ruin a decent crank by messing up the threads.
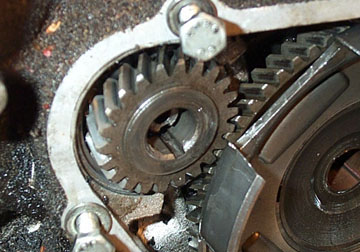
The shot above shows the crank half way through the gear and main bearing. Once it comes out the other side, look for the small half circle woodruff locating key which locates the drive gear on the crank. Note: you can remove the crank gear by rotating the clutch gear unitl the niggest opening aligns with the gear. I only figured this out after I took the shot.
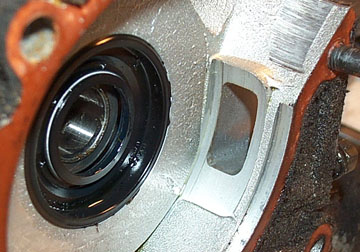
With the crank out of the way you now have access to replace your drive side oil seal or even the drive side bearing. The pad area where the crank and crankcase are tightly machined can also be inspected. Look for any major scratches in the raised area around the intake hole. If you have deep scratches they can be fixed with JB Weld or other fillers, but the correct thing to do is (unfortunately) to get new casings. |
|||||||||||||||||
