VespaAutomatic ProjectTransmission Rebuild |
Transmission Rebuild
Although I did open up the
casing transmission to have a look, I decided to leave it alone and see
how it works once the motor is started. The belt transmission was
another story and I needed to rebuild it partly so I could clean it all
up and party because I was curious.
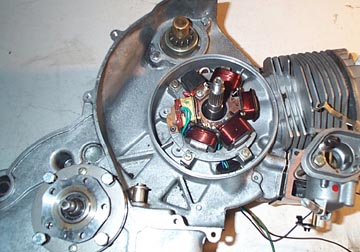
The first item to be installed
was the stator. I rewired this because the wires were so brittle and
the insulation was cracked in many places. I also marked the case and
the stator when I removed it so I simply lined them up when I
re-installed it. When the motor is running I'll use a strobe to make
sure it is accurate.
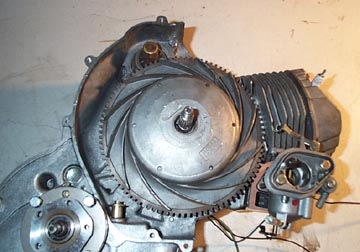
Fit the small woodrfuff key
and place the flywheel over the end of the crank. The strange thing
about this motor is that it has no flywheel nut until after the drive
pulley has been installed.
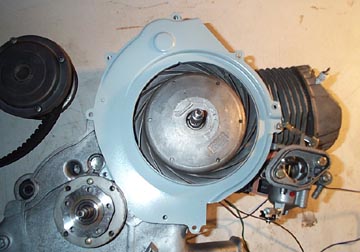
Then the throttle linkage
should be connected between the cam near the flywheel and the carb.
Since I forgot to do this I had to go back and do it later..... Install
the fan shroud and use the 6mm screws to fasten it down.
Now I switched over the bottom
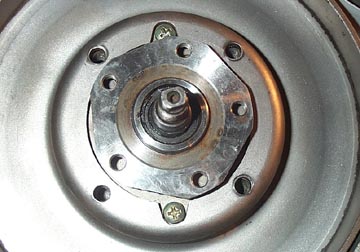
pulley. The drive bell to the clutch goes on first.
Make sure the two screws in
the axle stub align with the two cut outs in the bell. Then also make
sure the holes align between the bell and the axle stub plate .
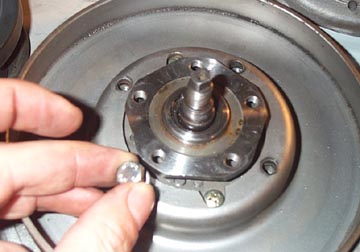
Fit the four bolts with spring
or lock washers and tighten them down with a 10mm ratchet.
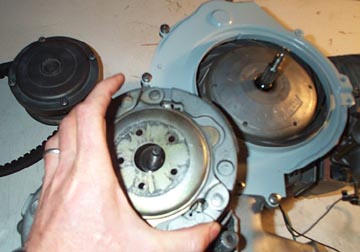
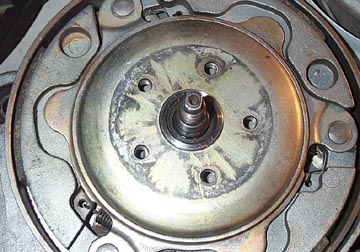
Next, fit the automatic
clutch. I cleaned the clutch as best I could because finding new pads
for this seems impossible. Luckily the pads I have on this clutch have
a thick layer of friction material on them so they won't need to be
replaced for a while.
Carefully rotate the clutch so
that the five bolts line up with the plate on the end of the drive axle.
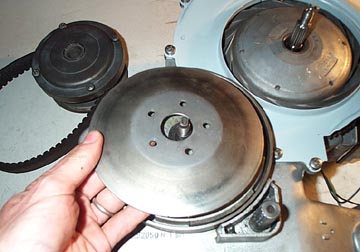
Fit the wheel side of the
lower drive pulley and line the bolt holes up with the clutch center
below.
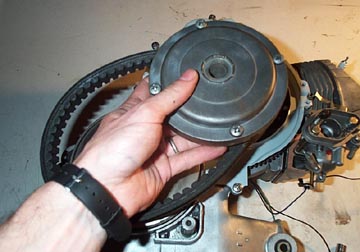
The upper drive pulley and the
belt need to be placed next. In order to get more play in the belt, I
pushed the two pulley halves apart and wedged the belt between them.
This makes it easier to install the lower pulley.
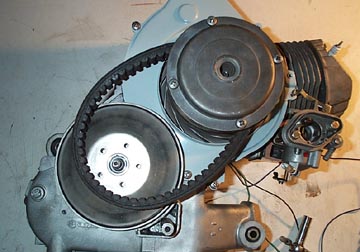
There should be enough slack
in the belt that it can clear all the bolt holes at the lower pulley.
Fit the other side of the
lower drive pulley and try and align the bolt holes once again. It
doesn't have to be perfect as the belt might make things tilt a little.
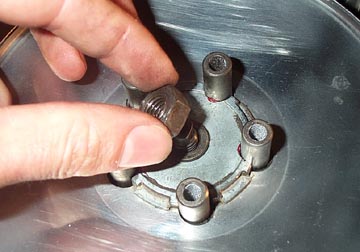
Fit the split locking washer
and central nut to the center axle stub. I used an impact wrench to
tighten this nut since I didn't have the holding tool. Another option
would be to have a helper hold the pulley and crank it as hard as you
can with a socket. Now fit the five small bolt tubes around the central
nut.
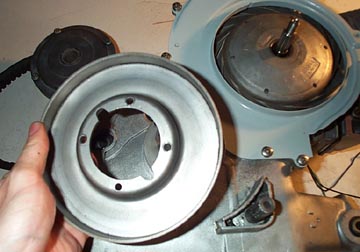
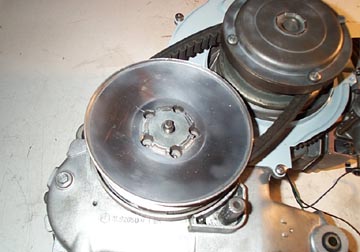
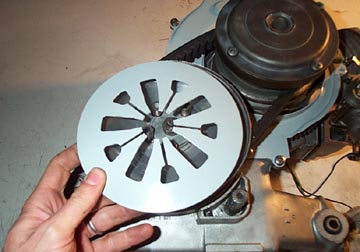
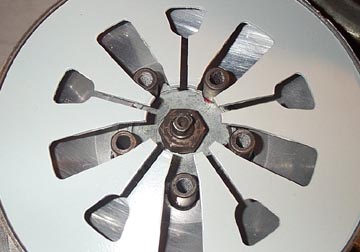
The lower drive pulley has a
very basic outer cover that acts as a spring trying to pull the pulley
halves apart.
Place it in the drive pulley
recess so that the five small bolt tubes are aligned with the
rectangular cut outs in the cover.
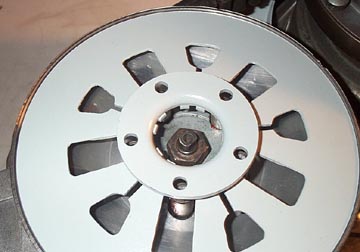
This is followed by a dished
central plate. Install it with the lip facing in, fit the 5 bolts, and
tighten them down equally going about a 1/2 turn at a time. You may
need to use a small screwdriver to align the bolt holes with the axle
stub if things have moved slightly.
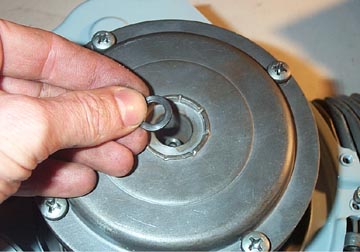
Now that the lower pulley is bolted down, return to the upper
pulley and fit the sinle flat washer down into the central hole.
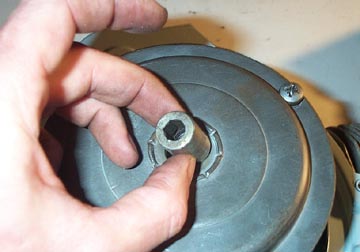
Follow this with the long flywheel/drive pulley nut and
tighten it down. This is very important to get tight as it holds the
flywheel and the pully on the crank. I used an allen head scoket driver
attached to an impact wrench because I didn't have the correct holding
tool.
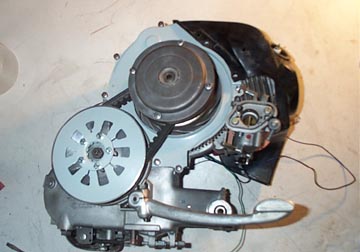
The final step is to add the
cylinder shroud and kickstart So far I have decided not to fit the air
box around the carb, but we'll see if I can fit it in the frame when
the motor is test placed. I have recently found 2 suppliers of the correct belt for this model thanks to an email:
Next Section --> |
|||||||||||||||||
